Introduction to RealityKit
RealityKit is the rendering and physics part of AR on iOS while ARKit is the sensing part. ARKit works out where the virtual camera is and detects things like planes for you to anchor 3D content to. When you create an AR app you will spend most of your time working with RealityKit allowing users interact with 3D content.
In RealityKit the 3D objects in your scene are called entities. Most of the time you will instantiate ModelEntity. You need to attach your model entity to an anchor entity for it to show up and you also need to add your anchor entity to the scene.
To get started open XCode and go to File > New > Project and select Augmented Reality App under the iOS tab. In the next dialog enter a project name and leave the defaults (Interface: SwiftUI, Language: Swift, Content Technology: RealityKit). For basic apps you can just configure an ARView inside an UIViewRepresentable as ARView is part of UIKit rather than SwiftUI. For larger projects it's best to extend ARView. The code below creates a box and adds it to an anchor entity. When a horizontal plane is detected it will place a box on it.
struct ARViewContainer: UIViewRepresentable {

    func makeUIView(context: Context) -> ARView {
        let arView = ARView(frame: .zero)

        let anchorEntity = AnchorEntity(plane: .horizontal)
        let mesh = MeshResource.generateBox(size: 0.2)
        let material = SimpleMaterial(color: .red, isMetallic: false)
        let modelEntity = ModelEntity(mesh: mesh, materials: [material])
        anchorEntity.addChild(modelEntity)
        arView.scene.anchors.append(anchorEntity)

        return arView
    }

    func updateUIView(_ uiView: ARView, context: Context) {}
}To create a model entity you need to create a mesh and a material. MeshResource contains a number of helper methods to create boxes, planes, spheres and text. To create a custom mesh is a little more complicated and will be covered in a future article. For materials there are two main options - SimpleMaterial and PhysicallyBasedMaterial. SimpleMaterial only allows you to specify color, roughness and whether it's metallic. PhysicallyBasedMaterial on the other hand allows you to specify textures for a large number of properties. You can generate these textures in something like Substance Designer and place the exported PNGs in the app's asset catalogue (Assets.xcassets). Texture sizes should be 2^n e.g. 1024 x 1024. Most textures only require greyscale images apart from baseColor, normal, specular, sheen and emissiveColor. If you do provide a colour image it will only use the intensity of the red channel. Texture images can be either 8 bits or 16 bits per channel. PNG supports both bit depths.
var material = PhysicallyBasedMaterial()
material.baseColour = .init(tint: .white, texture: .init(try! .load(named: "wood_base_color")))
material.roughness = .init(scale: 1.0, texture: .init(try! .load(named: "wood_roughness")))
material.normal = .init(texture: .init(try! .load((named: "wood_normal")))
material.ambientOcclusion = .init(texture: .init(try! .load(named: "wood_ambient_occlusion")))
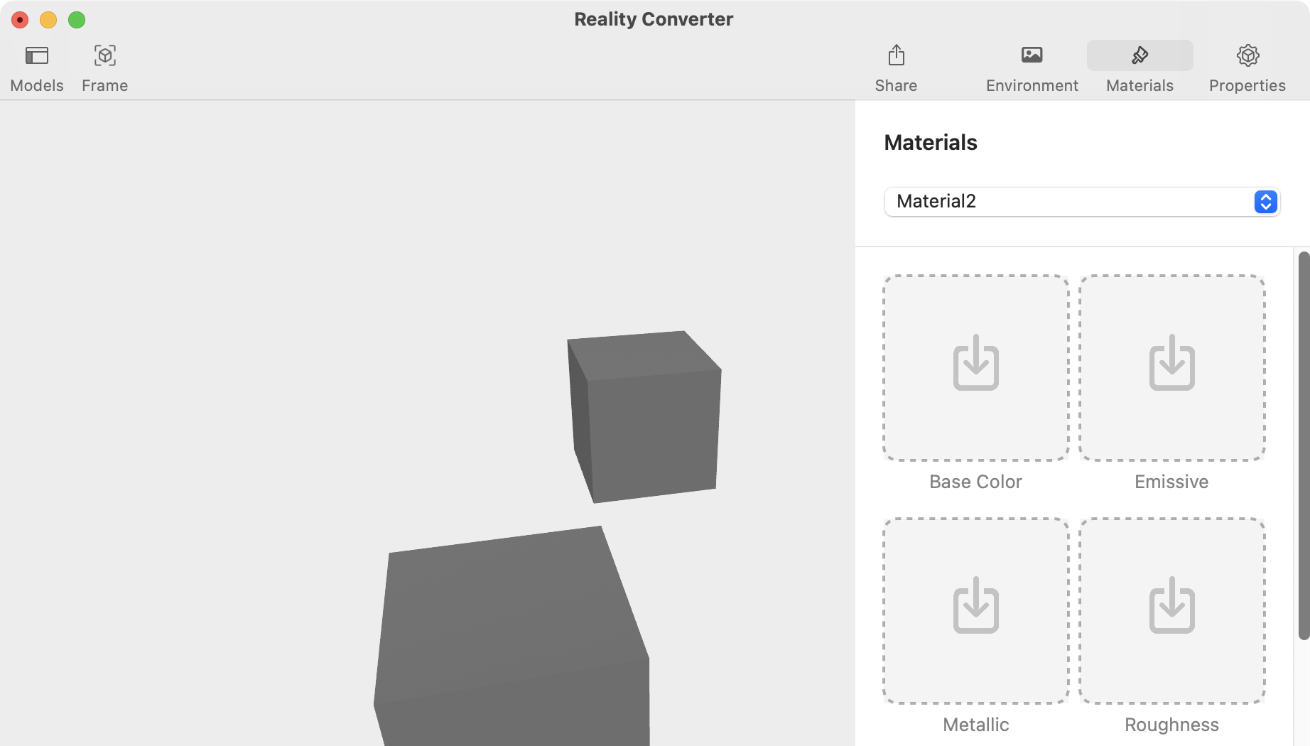
material.metallic = .init(scale: 1.0, texture: .init(try! .load(named: "wood_metallic")))Another way to handle meshes and materials is to create a model in 3D software like Blender and assign placeholder materials. Export it as an obj file and import it into Reality Converter. In the materials sidebar on the right should be a list of materials you assigned in the 3D software. For each one drag textures into their correct slots. Export it was a USDZ file and then add it to your project.
For the next section of code I will extend ARView:
ContentView.swift:
struct ARViewContainer: UIViewRepresentable {

    func makeUIView(context: Context) -> ARView {
        return CustomARView(frame: .zero)
    }

    func updateUIView(_ uiView: ARView, context: Context) {}
}
CustomARView.swift:
import RealityKit
import Combine
import ARKit

class CustomARView: ARView {
    private var subscriptions: Set<AnyCancellable> = []

    required init(frame: CGRect) {
        super.init(frame: frame)

        let anchorEntity = AnchorEntity(plane: .horizontal)
        scene.anchors.append(anchorEntity)

        ModelEntity.loadModelAsync(named: "my_model.usdz").sink(receiveCompletion: { loadCompletion in
            switch loadCompletion {
            case .failure(let error):
                print("Unable to load model: \(error.localizedDescription)")
            case .finished:
                break
            }
        }, receiveValue: { entity in
            anchorEntity.addChild(entity)
        }).store(in: &subscriptions)
    }

    @objc required dynamic init?(coder decoder: NSCoder) {
        fatalError("init(coder:) has not been implemented")
    }
}
The model is loaded asynchronously so that it doesn't freeze the UI. loadModelAsync() returns a publisher and the sink method of Publisher creates a subscriber where you can respond to the publisher's events in the supplied closures. This is part of the Combine framework which you can learn more about here. The AnyCancellable returned by the sink method is stored in a set. If we don't do this the subscription will automatically cancel itself when it's deallocated when it leaves the constructor.
Like Unity, RealityKit takes a component approach rather than using inheritance. Instead of extending the ModelEntity class to add functionality you add components to the entity. Every entity has a transform component. So to move the box to the right you would do the following:
modelEntity.components[Transform.self] = Transform(scale: [1, 1, 1], rotation: simd_quatf(), translation: [0.2, 0, 0])Since Transform is a struct you have to create a new one rather than changing a property of an existing one. For example the following will have no effect:
let transform = modelEntity.components[Transform.self] as! Transform
transform.translation = [0.2, 0, 0]
For the build-in components you generally access them through properties rather than through the components set:
modelEntity.transform = Transform(scale: [1, 1, 1], rotation: simd_quatf(), translation: [0.2, 0, 0])RealityKit has added a number of utility methods for working with the Transform component that implement the HasTransform protocol. So the above code can be shortened to:
modelEntity.position = [0.2, 0, 0]The reason I showed you the earlier methods to move an entity is so you would get used to thinking in components. So instead of extending an entity to add extra information you add a custom component:
import RealityKit

class MyComponent: Component {
    public var mass: Float

    init(mass: Float) {
        self.mass = mass
    }
}
When you create a custom component you need to register it when the app starts which can be done in AppDelegate.swift:
func application(_ application: UIApplication, didFinishLaunchingWithOptions launchOptions: [UIApplication.LaunchOptionsKey: Any]?) -> Bool {
    registerComponents()
    ...
}

private func registerComponents() {
    MyComponent.registerComponent()
}
And then when you create an entity you can add your custom component:
modelEntity.components[MyComponent.self] = MyComponent(mass: 2)In mathematics a vector is a list of numbers. In physics a vector is a direction and magnitude. Computer graphics takes the mathematics approach and treats vectors as just a list of numbers that are used for points and physics-type vectors. A point can be viewed as a physics-type vector if you set its start point at the origin and its end point at the point. Vectors in RealityKit use the type SIMD3<Float> or its type alias simd_float3. SIMD stands for simple instruction multiple data. Each element in the vector represents an axis e.g. x, y and z. You can use a float array as a vector literal. For example to move an entity 1m along the x-axis you would do this:
modelEntity.position = [1, 0, 0]And to scale an entity in all three axes:
modelEntity.scale = [2, 2, 2]Transformations occur around the origin of the entity which is usually its centre.
Different platforms use different coordinate systems. Screen based platforms have the z axis coming out or into the screen while the x-y plane matches the screen and is the same as it would be for 2D graphics. CAD applications have the z axis going up so that the x-y plane matches the plan of a building. The other thing is handedness. RealityKit uses a right-handed coordinate system. The y axis points up, the z axis points towards the user and the x axis points to the right. If you take your right hand, the thumb is the y axis, the index finger at 90 degrees to the thumb is the z axis and the middle finger at 90 degrees to the index finger is the x axis. Unity on the other hand uses a left-handed coordinate system where the z axis is pointing in the opposite direction.
For rotation, a positive angle will go in a counter-clockwise direction around the axis. You can use your right hand to figure this out. Point your thumb in the same direction of the axis and the direction that your index finger curls is the direction of positive rotation. Rotation in 3D can use Euler angles or quaternions. Euler angles specify rotation around the x, y and z axes though you also need to specify the order of the axes. They run into a problem when the axes start to line up and it's called gimble lock. So instead quaternions are used. Quaternions specify rotations with a 4 dimensional number which doesn't make much sense to non-mathematicians. Instead you can think of them as rotation around an axis. Angles in computer graphics are generally measured in radians. So if you have a circle on a piece of paper and take a piece of string to measure its radius and then place that radius length string along its circumference it will measure out an angle of 1 radian. 180 degrees is Pi radians or around 3.14 radians. To rotate an entity 90 degrees counter-clockwise around the y axis you would do the following:
modelEntity.orientation = simd_quatf(angle: .pi / 2, axis: [0, 1, 0])Be careful reading just the angle property from orientation. For example an entity rotated -90 degrees around the y axis will have an angle of .pi and an axis of [0, -1, 0] regardless of how you specified the angle and axis.
In 3D it is standard to have a hierarchy of objects i.e. objects have children and parents. When you transform a parent it will also transform the children. Say you have the moon orbiting the earth which orbits the sun. If you make the moon a child of the earth, rotating the earth around the sun will also rotate the moon.